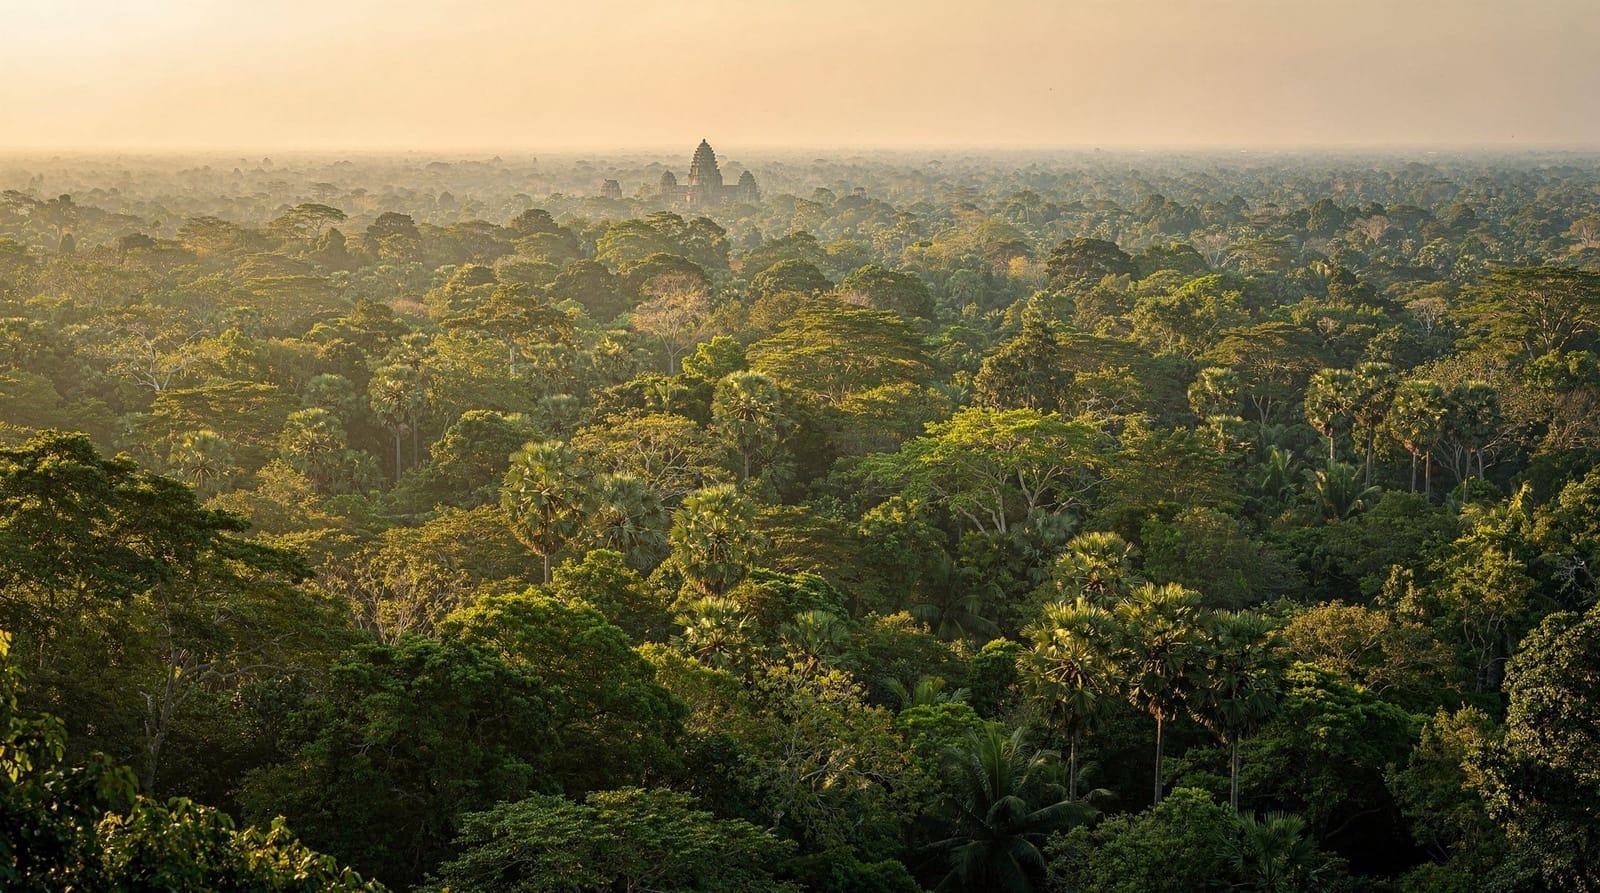
Angkor photography guide: light, gear and rules
Angkor Wat: Photography Tour
What's the single most important photography tip for Angkor?
Shoot early or late — the harsh midday sun between roughly 11am and 3pm flattens the carved detail that makes Angkor's temples photogenic. Sunrise at Angkor Wat and mid-to-late afternoon at Ta Prohm or Bayon consistently produce the best light of the day.
Planning your photography day around the whole park, not just Angkor Wat
Most photography advice online fixates on Angkor Wat sunrise and stops there, which undersells how much the rest of the park offers a patient photographer. Treating your visit as a series of light-matched appointments — Angkor Wat at dawn, Bayon and Ta Prohm in the golden hours of afternoon, Pre Rup near dusk — rather than a single-morning rush produces a noticeably stronger set of images across a multi-day visit than concentrating all your effort on the one famous sunrise shot everyone already has a version of.
Light matters more than gear at Angkor
The single biggest variable in Angkor photography isn’t camera equipment — it’s timing. The park’s stone surfaces, carved reliefs and jungle-reclaimed structures all photograph dramatically differently depending on the angle and softness of the sun, and the difference between a shot taken at 7am and the same composition taken at 1pm is often the difference between a striking image and a flat, overexposed one.
Crowd-photography tradeoffs
The temples with the best-known photography angles are also, unsurprisingly, the most crowded — the Angkor Wat reflecting pools, Ta Prohm’s most photographed root formations, and Bayon’s most symmetrical face-tower views all draw a line of visitors waiting for the same shot at the same time. Two strategies help: arriving before or after the standard tour-bus window (see our avoiding the crowds guide for exact timing) and being willing to seek a genuinely different, less iconic composition rather than only chasing the exact shot everyone else already has, which by definition requires competing for the same few square meters of ground.
Best light by temple
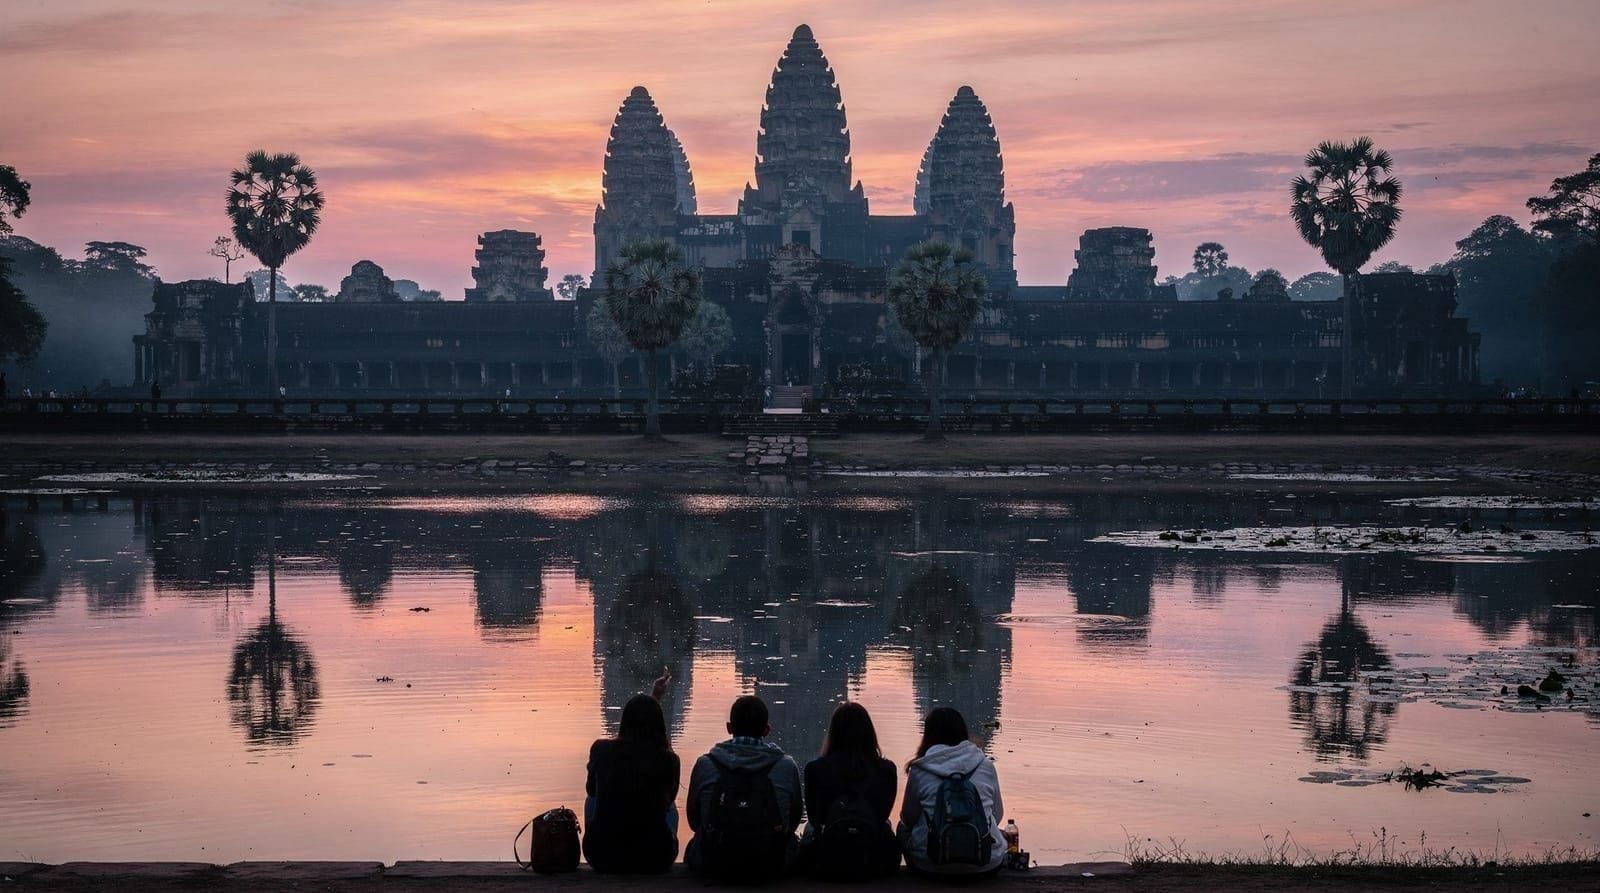
Angkor Wat: built for sunrise. Its west-facing orientation means the rising sun lights the towers from behind for the classic silhouette shot over the reflecting pools, while the soft, low-angle light in the first hour after sunrise continues to work well for the temple’s exterior and inner galleries. See our sunrise guide for exact timing and pool selection.
Bayon: mid-to-late afternoon light rakes across the carved stone faces at an angle that brings out their expression and texture far better than the flat overhead light of midday, which tends to wash out the subtle carving depth that gives the faces their character.
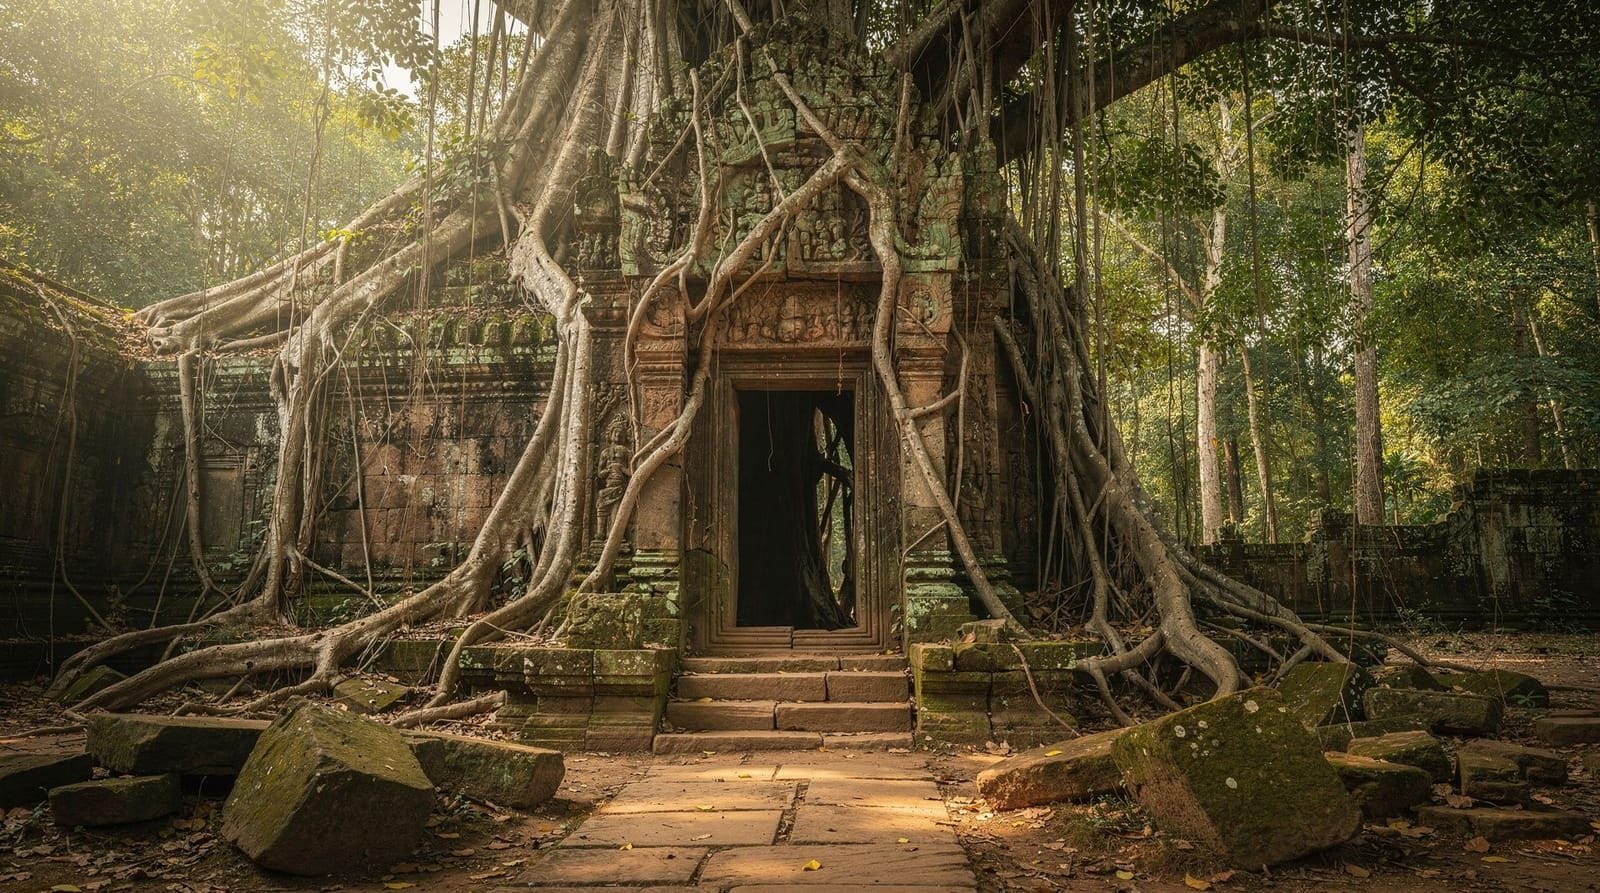
Ta Prohm: similarly rewards afternoon light, when angled sun filtering through the tree canopy picks out the texture of roots against stone — a combination that photographs poorly under harsh midday overhead light, which flattens the contrast between root and wall.
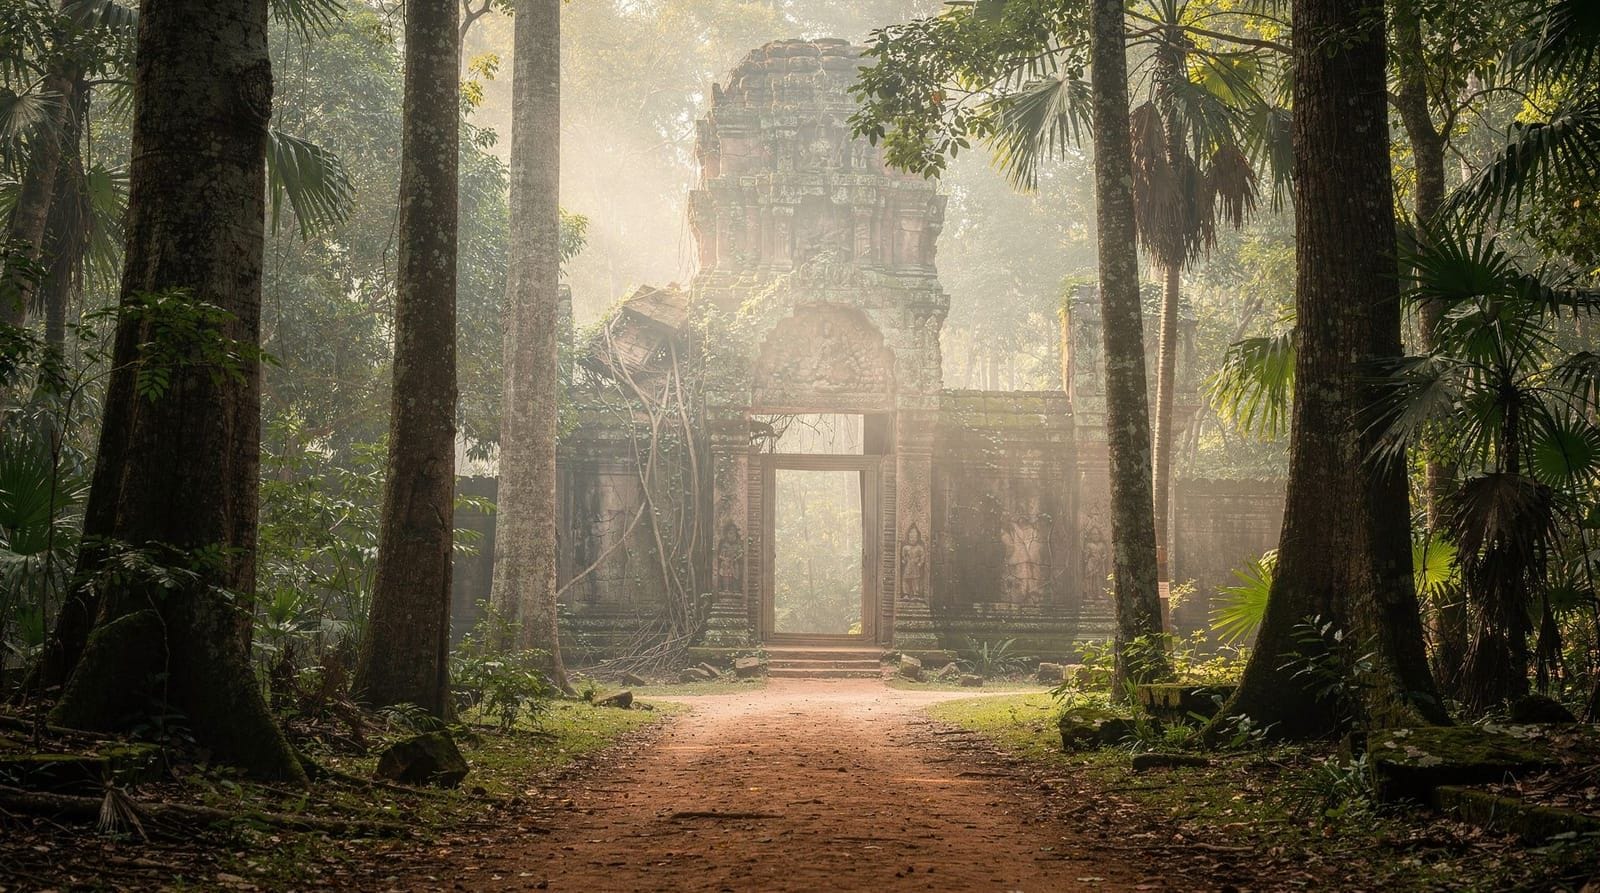
Preah Khan and Neak Pean: quieter Grand Circuit temples where the lower crowd density matters as much as the light — either morning or afternoon works reasonably well, and the near-empty corridors themselves are part of the photographic appeal here.
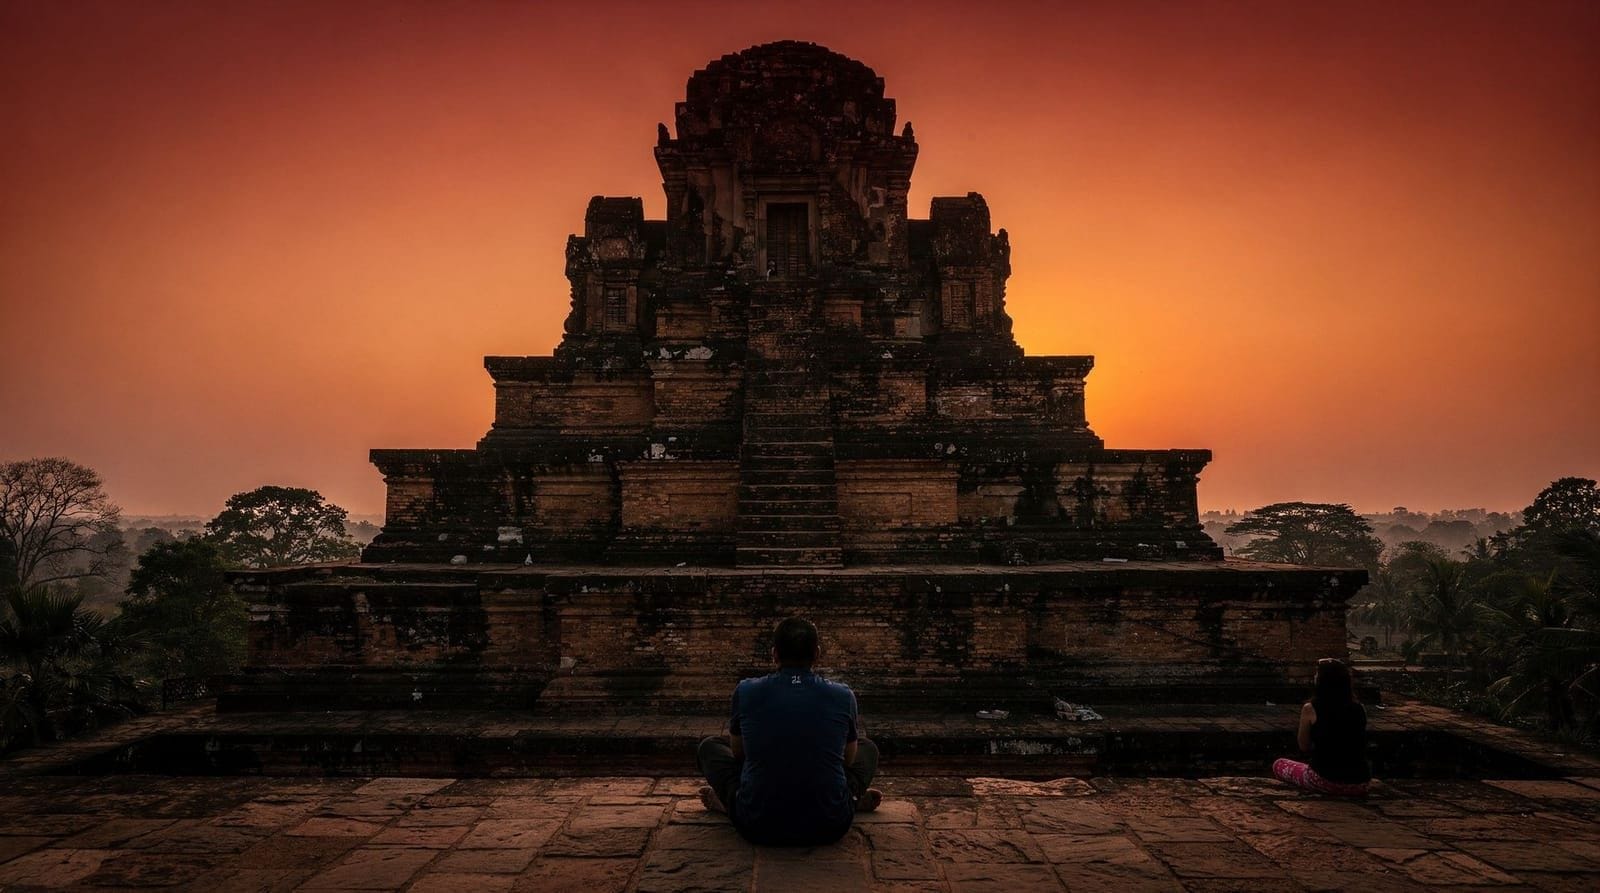
Pre Rup: one of the better sunset alternatives to the crowded Phnom Bakheng viewpoint (see our sunset spots guide for the full comparison), with its elevated stepped structure catching late-day color well.
The midday dead zone
Between roughly 11am and 3pm, the sun sits high and direct, flattening carved detail and washing out the contrast that makes Angkor’s temples photogenic. This isn’t a strict rule — cloud cover or overcast conditions soften midday light considerably — but on a clear day, this window is better spent on lunch, indoor gallery time, or simply resting rather than fighting harsh light for photos. If your schedule forces a midday temple visit, focus on interior shots in shaded galleries rather than exterior facades in direct sun.
Drone rules
Drone flights are prohibited across the entire Angkor Archaeological Park without prior special authorization that isn’t realistically accessible to individual travelers — this is actively enforced, and unauthorized drone use risks confiscation of equipment or fines, not a quiet slap on the wrist. If aerial footage of Angkor is essential to your project, it needs to be arranged well in advance through official channels, not attempted informally on-site.
Tripod policy
Tripods aren’t formally banned at most temples, but in practice they’re impractical and sometimes actively discouraged at the most crowded spots — particularly the Angkor Wat reflecting pools during the packed sunrise window, where setting one up blocks other visitors’ views and sightlines. A monopod, a beanbag, or simply bracing against a stable surface is the more realistic option during peak hours; a full tripod becomes practical again later in the morning or at quieter Grand Circuit temples once crowds thin.
Battery, memory card and power planning for a full temple day
A full Angkor day, particularly one built around both a sunrise start and late-afternoon or sunset finish, runs considerably longer than a typical single-outing shoot — budget at least one full spare battery for a dedicated camera given the combination of extended shooting time and screen use for reviewing shots, since temple-side charging options are essentially nonexistent beyond your hotel or vehicle.
Memory card capacity is less often a constraint with modern high-capacity cards, but carrying a spare regardless avoids being caught out by an unexpected card failure on a day that’s genuinely difficult to reshoot given the specific light conditions involved. A portable power bank for a phone-based photography setup serves the same insurance function, particularly relevant given how much battery a phone burns running camera apps continuously across a multi-hour temple morning.
Gear that actually helps
A wide-angle lens (roughly 16-24mm equivalent) captures the scale of Angkor Wat’s towers and Bayon’s courtyards better than a standard zoom, given how close crowds often force you to stand relative to the structures. A polarizing filter cuts glare off wet stone during rainy season and deepens sky contrast for sunrise shots. Beyond that, a modern phone camera handles most Angkor scenes competently, especially with HDR or portrait modes for the high-contrast sunrise silhouette shot — a dedicated camera adds control, not a strict requirement for good results.
Photography-focused tours
A dedicated Angkor photography tour times stops around the best light windows specifically rather than a standard sightseeing pace, useful if photography is your primary goal rather than a byproduct of general sightseeing. For a portrait or personal photoshoot in temple settings, a guided photoshoot walking tour arranges access and framing with a local photographer.
Interior and low-light shooting
Many of Angkor’s most atmospheric shots come from within shaded galleries and dim inner sanctuaries rather than sunlit exteriors — Angkor Wat’s inner enclosure, Bayon’s shadowed corridors between face-towers, and Ta Prohm’s tree-root passageways all sit in considerably lower light than the open courtyards outside. A camera capable of a reasonably high ISO without excessive noise, or simply bracing against a stone wall for a slower handheld shutter speed, handles most of these situations without needing a flash — which is discouraged in several interior spaces both for preservation reasons and because it flattens exactly the texture and depth that makes these spaces photogenic in available light.
Photographing people respectfully
Angkor’s temples are active sites with monks, worshippers, and local visitors alongside tourists, and photographing people — particularly monks or anyone engaged in prayer or ritual activity — deserves a more deliberate approach than casually pointing a lens at anyone who makes for an interesting frame.
Asking permission before a close-up portrait, even with a smile and gesture rather than shared language, is generally well received and produces better, more natural photos than a candid shot taken without acknowledgment. Flash photography directed at monks or worshippers specifically is considered disrespectful in addition to being generally poor practice in dim interior spaces for the technical reasons already covered above — available-light and a higher ISO setting handles these situations better on both counts.
Editing and color expectations
Angkor’s sandstone shifts color dramatically with the light — pale grey-gold under midday sun, warm orange-pink at sunrise and sunset, and a deep, almost purple-brown in shaded interior galleries. Shooting in RAW format if your camera supports it preserves far more recoverable detail in the deep shadows common in temple interiors and the bright highlights common in sunrise silhouettes than JPEG alone, giving considerably more flexibility when editing later. Even phone photography benefits from checking exposure manually rather than trusting full auto mode in these high-contrast conditions, since auto-exposure algorithms often blow out a sunrise sky trying to correctly expose the darker foreground temple silhouette.
Multi-day photography planning
If photography is a priority across your whole trip, spreading temple visits to match each site’s best light — Angkor Wat at sunrise, Bayon and Ta Prohm in the afternoon, Pre Rup at sunset — works better than trying to squeeze every temple into a single rushed day. See our Angkor photography itinerary for a full multi-day plan built specifically around light timing rather than the standard circuit order, and our avoiding the crowds guide for which hours and entry points minimize people in your frame.
Alternatives to Phnom Bakheng for elevated sunset shots
Phnom Bakheng, long the default answer for an elevated Angkor sunset photograph, now operates under a capped, time-slotted access system limiting the summit to roughly 300 visitors at a time — a genuinely different photography experience than the once-standard “climb up and set up wherever” approach, given the crowd density and reduced space to compose freely once you’re on the hill. Pre Rup, on the Grand Circuit, is the most consistently recommended photographic alternative: its stepped structure offers genuine elevation and reddish sandstone that catches late-day light distinctively, with no access cap or reservation system to plan around.
Angkor Wat’s own exterior at sunset — a different angle from the famous sunrise silhouette — is a third strong option, drawing a fraction of the morning crowd since most visitors treat the temple as a sunrise-only stop. See our dedicated sunset spots guide for the full comparison across all three, including arrival timing and what to expect physically at each.
Camera settings for the sunrise silhouette shot
The classic Angkor Wat sunrise composition — towers silhouetted against a brightening sky, reflected in the pools — benefits from a few specific technical choices beyond simply pointing a camera at the horizon. Exposing for the sky rather than the foreground temple preserves color and detail in the brightest part of the frame, deliberately rendering the temple as a dark silhouette rather than trying to recover shadow detail that a single exposure can’t hold alongside a bright sky.
A narrower aperture (f/8-f/11 on a dedicated camera) keeps both the temple silhouette and the sky in sharp focus given the effectively infinite focus distance involved, while a tripod or stable surface matters more here than almost anywhere else in the park, since the low pre-dawn light often requires a shutter speed too slow for reliable handheld shooting. Phone cameras handle this scene reasonably well using portrait or night modes, though manually tapping to expose for the sky rather than trusting full auto exposure produces a more reliably dramatic silhouette than default auto settings, which often try to brighten the temple and wash out the sky in the process.
Reflecting pool selection for the classic shot
Angkor Wat has more than one reflecting pool along its western approach, and which one you use meaningfully changes your composition and, just as importantly, your crowd density. The pool directly in front of the main causeway is the most iconic and consequently the most crowded, often requiring an early arrival to claim a clear sightline before the crowd builds.
A second, less centrally located pool offers a similar reflection composition with noticeably fewer people competing for the same framing, a worthwhile trade if you’re willing to sacrifice a small amount of the most “textbook” symmetry for a calmer shooting experience. Our sunrise guide covers exact pool locations and the walk-in route from the parking area in more detail.
Post-processing considerations specific to Angkor’s stone
Angkor’s sandstone carries a distinctive grey-gold tone under most lighting conditions, and getting accurate, pleasing color out of post-processing software depends partly on correct white balance — a common beginner mistake is over-warming an already warm sunrise or sunset shot, pushing the stone into an unnaturally orange cast rather than the more subtle warm-grey it actually presents in person. For interior gallery shots, where mixed lighting (shafts of sunlight against deep shadow) is common, a slightly cooler white balance on the shadow areas specifically, if your software supports localized adjustment, tends to produce more natural-looking results than a single global white balance setting applied across the whole high-contrast frame.
Insurance and gear protection in Angkor’s climate
Siem Reap’s combination of heat, humidity, and — during rainy season — sudden downpours is worth planning gear protection around, particularly for a multi-day photography-focused visit involving more equipment than a typical casual visitor carries. A basic rain cover or dry bag for camera gear is inexpensive insurance against a sudden rainy-season shower, which can arrive with little warning even during a mostly dry-looking morning.
Humidity-related lens fogging, particularly when moving between an air-conditioned vehicle and Angkor’s outdoor heat, is a common minor annoyance — allowing gear a few minutes to acclimate before shooting, rather than immediately shooting straight out of an air-conditioned tuk-tuk or car, reduces this friction. Dust from unpaved sections of road near the outlier temples (Beng Mealea, Koh Ker) is also worth a lens cloth and basic sensor-cleaning awareness if you’re swapping lenses in the field on a dedicated camera.
Frequently asked questions about Angkor photography guide
Are drones allowed at Angkor?
No, drone flights are prohibited across the Angkor Archaeological Park without special prior authorization that is not realistically available to individual tourists — this is enforced, and confiscation or fines are a real risk for unauthorized flights, not an empty rule.Can I bring a tripod into the temples?
Tripods are technically permitted at most sites but are impractical and sometimes discouraged at the most crowded spots (the Angkor Wat reflecting pools at sunrise especially), where dense crowds make setting one up disruptive to other visitors. A monopod or simply bracing against a wall is a more realistic option during peak hours.Which temple has the best photography light in the morning?
Angkor Wat, unambiguously — its west-facing orientation and reflecting pools are built for a sunrise shot, and the soft early light on the towers themselves (not just the reflection) continues to work well for the first hour or two after sunrise.Which temple has the best afternoon light?
Ta Prohm and Bayon both work well in the mid-to-late afternoon, when angled light picks out texture in tree roots and carved stone faces respectively, without the flat overhead glare of midday. Avoid the 11am-3pm window at both if photography is a priority.Do I need a professional camera, or is a phone enough?
Modern phone cameras handle Angkor's light and detail well, particularly with portrait or HDR modes for high-contrast scenes like sunrise silhouettes. A dedicated camera with a wide-angle lens gives more control for interior temple shots in low light, but it's not a requirement for good results.Is there a fee for professional photography or filming?
Commercial photography and filming (for advertising, film production, or paid shoots) require separate permits and fees arranged with Angkor Enterprise in advance. Personal, non-commercial photography for travelers is included in the standard Angkor Pass with no extra fee or paperwork.
Top experiences
Bookable activities with verified prices and instant confirmation on GetYourGuide.


More tours on Viator
Top-rated experiences with verified reviews, bookable on Viator (a Tripadvisor company).